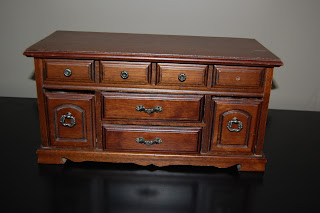
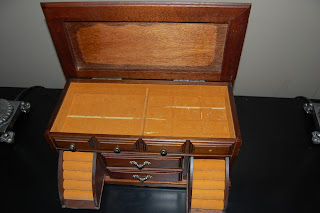
When I was a little girl, I LOVED playing dressup. I loved bracelets and necklaces. When I see jewelry boxes like this at a Thrift Store - it puts be back down memory lane. I just had to buy this box! The recipe is below.
***When I paint smaller projects, I use spray paint.
I will always clarify spray paint versus Graco paint sprayer in the recipes we post.***
I will always clarify spray paint versus Graco paint sprayer in the recipes we post.***
JEWELRY BOX RECIPE
Ingredients: spray paint, masking tape, sand paper, fabric, scrap book paper, Mod Podge, drawer pulls
Steps:
- Clean out the inside. I used masking tape. It does a great job of grabbing lint.
- Prime! Spray with Rust-Oleum White 2x Painter’s Touch Primer. This will help keep the brown from bleeding through the light colors. It dries quickly and was ready to paint first coat after 30 minutes.
- Spray with Rust-Oleum Painter’s Touch Heirloom White in Satin. Took three coats.
- Add fabric to the inside of the drawers. First, cut fabric to fit. Attach fabric in place with spray adhesive.
 |
| Fabric after spray adhesive |
- Next, spread Mod Podge on top of the fabric. This will help make the fabric stick and to give the material rigidity. Repeat steps for all drawers.
- The fun step – DECOUPAGE!!! I found paisley scrapbooking paper that had a shabby chic look to it. The top of the jewelry box was larger than my paper. I cut a smaller sheet for the left side and the right side. I used a full sheet and centered it on top of the smaller sheets.
 |
| Note large piece of paper centered on top of two smaller pieces |
- I attached the paper with spray adhesive. I then put on three coats of Mod Podge Satin and lightly sanded between coats. I let the paper dry 30 minutes between coats.
- I had so much fun with the Mod Podge on top of the jewelry box that I put paper on the front of it.
- Sand the edges of the drawers to give the jewelry box character. I sanded until I got the look I was wanting.
- Reattach pulls.
 |
| So darn cute! |
Here are the pictures again...
 |
| Before... |
 |
After |


0 comments:
Post a Comment